Running your own DX Cluster Node
If you run your own Spothole server and want to receive spots from the DX cluster, you don't need your own
cluster node. Spothole's example config file connects to the cluster node at spothole.app, which is a general node
available for use, though note that it comes with the same lack-of-uptime guarantee as spothole.app itself! If you
find reliability/uptime issues, you can point your copy of Spothole at one
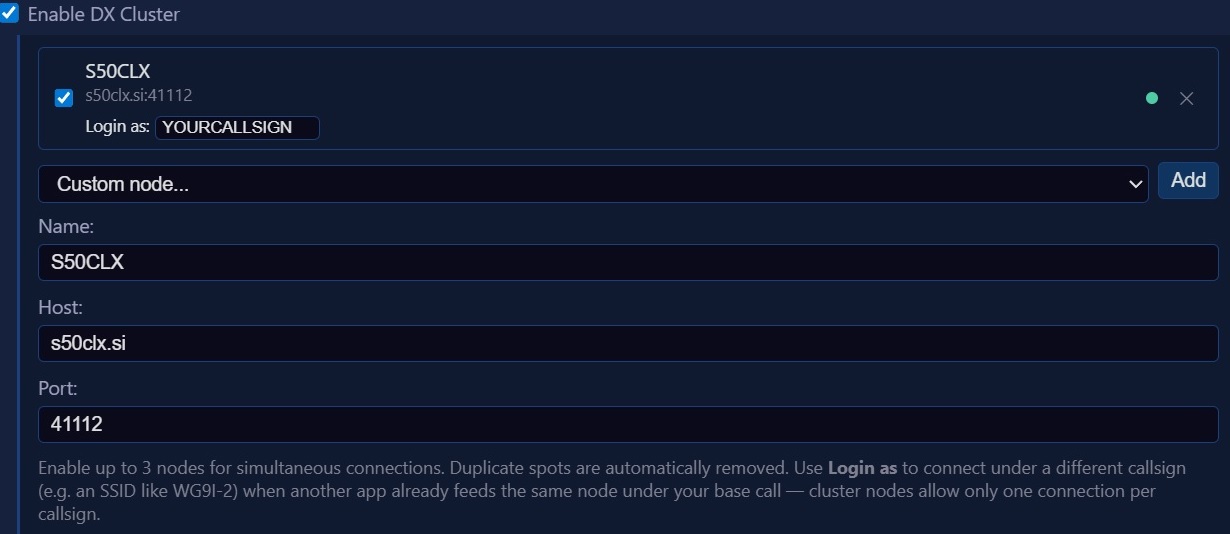
of the many public DX cluster nodes, such as W3LPL at w3lpl.net port 7373. Make sure the
SSID you log in with (e.g. -99) is different to any personal connection you make to the same cluster
node from a logger, otherwise the two connections may clash and one of you will get kicked off when the other
connects.
However, running your own DX cluster node alongside your copy of Spothole is an option. This could, for example, give your Spothole users a home node where they could register themselves and set a password, which will enable them to add spots to the cluster via Spothole's web interface or API.
This page describes how to do that with DXSpider, which is the cluster software used by spothole.app. Other cluster software may have similar settings.
Installing DXSpider
Follow the installation instructions, either from the DXSpider website or somewhere else that has an equivalent set. The cluster node at Spothole.app runs DXSpider in a Docker container, for which there is a great project here with full setup and configuration instructions: 9M2PJU DXSpider Docker.
There are several branches of DXSpider in the wild. For this setup, we need the "mojo" branch, which the 9M2PJU instructions use.
Before setting up Spothole to connect to the node, make sure you have set it up with a node callsign, and set up your sysop user. Port 7300 (or an alternative you choose) must be open in your firewall so that other users and cluster nodes can connect to yours. I suggest giving it a few days to make sure you've got your cluster configuration sorted and to establish partner relationships with other nodes before connecting Spothole in.
Once you are ready, set up the cluster config in config.yml to point to your server. Pick a callsign
which your
copy of Spothole will log into the server with. As above, if you're using your own callsign here, I recommend using
an SSID to make sure it doesn't conflict with any other connection you make to the node as yourself.
Allowing your users to post spots to the cluster
Posting spots upstream to the cluster network doesn't necessarily require you to run your own cluster node. It just requires your prospective spot posters to have registered their callsign and set a password on a cluster node somewhere, which Spothole can connect to on their behalf.
Firstly, before any upstream spotting is allowed from
Spothole to anywhere, you must ensure that the config option allow_add is turned
on. You should also make sure that protect_add is enabled
too (along with setting up API keys and/or CAPTCHA) to prevent drive-by attempts at guessing login details! More
information about these settings is available on the Running your own Server page.
Then make sure the DXCluster entry in the upstream_providers section of
config.yml is enabled, and restart Spothole. Your users will then see the cluster as an option when
adding a spot. To send a spot to the cluster, they will need to provide:
- The address of their home cluster node, e.g.
spothole.app:7300. - The callsign they log in to that node with. This can have an SSID (e.g.
-3) to stop Spothole's connection clashing with any other software they have connected to the same node, but otherwise it must match the spotter callsign. - Their password on that node. Spothole won't post spots from a login that isn't protected by a password, to prevent abuse.
If your users use your own node as their home node, they will need a password on it. On DXSpider, you can set one
for a user from the sysop console with set/password <callsign> <password>.
Forwarding spots from other sources to your node's users
Spothole can also forward the spots it receives from its other sources, such as POTA, SOTA and WWFF, to your cluster node. This then becomes a third way to view Spothole's combined spots feed: the web interface, the API, and also via a traditional telnet cluster feed that can be used in desktop logging software. This is a separate option to all of the above, and unlike the other options it does require adding some custom scripts on the cluster node itself, so it must be a node that you own.
Spots that came from a cluster or from RBN aren't forwarded via this mechanism, as they would be duplicates of what the cluster network already has. UK Packet Network and APRS-IS spots are also prevented from going up to the cluster node this way, as they would overwhelm the feed.
The rest of the DX cluster network would not thank you for flooding it with every xOTA spot, so these spots must
never leave your node. Spothole doesn't send them with the normal dx command, but with a custom
command, xotaspot, which you need to install on your DXSpider node. This command:
- sends the spot only to users connected directly to your node, and not to other nodes,
- sends it only to users who have opted in to receive these spots (they are off by default),
- can only be used by the user Spothole runs as (based on it having privilege level 2, as configured below)
Users of your node can opt in to receiving these spots with the set/xota command, and opt out again with
unset/xota. You may want to add a note about these commands to your node's MOTD (message of the day),
which users see when they log in, in /spider/local_data/motd. (If your server enforces registration,
non-registered users will instead see MOTD content from /spider/local_data/motd_nor.)
Older DXSpider documentation refers to these files in /spider/data. The mojo branch moves them to
/spider/local_data when it starts up (if a copy exists in both places, it picks whichever was modified
most recently, and keeps using that one until it is restarted), so edit the copy in /spider/local_data.
The file is re-read every time someone logs in, so changes take effect at the user's next login without restarting
DXSpider. Users can see the current MOTD at any time with show/motd.
To set this up, copy the
three files from the misc/dxspider/local_cmd directory in the Spothole source
code into your node's local_cmd directory (normally /spider/local_cmd), keeping
the same directory structure:
/spider/local_cmd/xotaspot.pl
/spider/local_cmd/set/xota.pl
/spider/local_cmd/unset/xota.pl
Make sure they are readable by the user DXSpider runs as. DXSpider picks up new commands automatically, so there's no need to restart it.
Next, Spothole's login needs privilege level 2 on the cluster node, so that it can use the xotaspot
command. It must also have a password set to prevent other users logging in as Spothole's user and abusing its
privileges. From the sysop console, register Spothole's login callsign, set its password, and set its privilege
level:
set/register YOURCALL-99
set/password YOURCALL-99 <password>
set/privilege 2 YOURCALL-99
Finally, configure Spothole to log in with that callsign and password, and set forward_other_spots to
true, in your cluster config in config.yml, then restart Spothole:
  - class: "DXCluster"
    name: "Cluster"
    enabled: true
    host: "cluster.example.com"
    port: 7300
    login_callsign: "YOURCALL-99"
    password: "<password>"
    forward_other_spots: true
Please note:
- Forwarded spots are shown with the time they were posted to the cluster node, rather than the time of the original spot. I don't believe there's any way around that.
- If you log into your node manually as the user Spothole runs as, do not run
set/xotaon its login. Spothole would then receive these spots as if they were cluster spots, duplicating the ones it already gets from POTA, SOTA etc. directly. If you want to testset/xota, use your personal login instead.
Telling your users about your node
If your cluster node is one that your Spothole users can connect to from their own logging software, set
dedicated_node to true in its cluster config in config.yml. Spothole's help
pages will then tell users how to connect to it, what spots they will see, and how to turn the forwarded spots on
and off with set/xota and unset/xota. The address and port shown to users are the
host and port Spothole uses to connect to the node, so if Spothole connects to it as
localhost, change this to the node's public address.